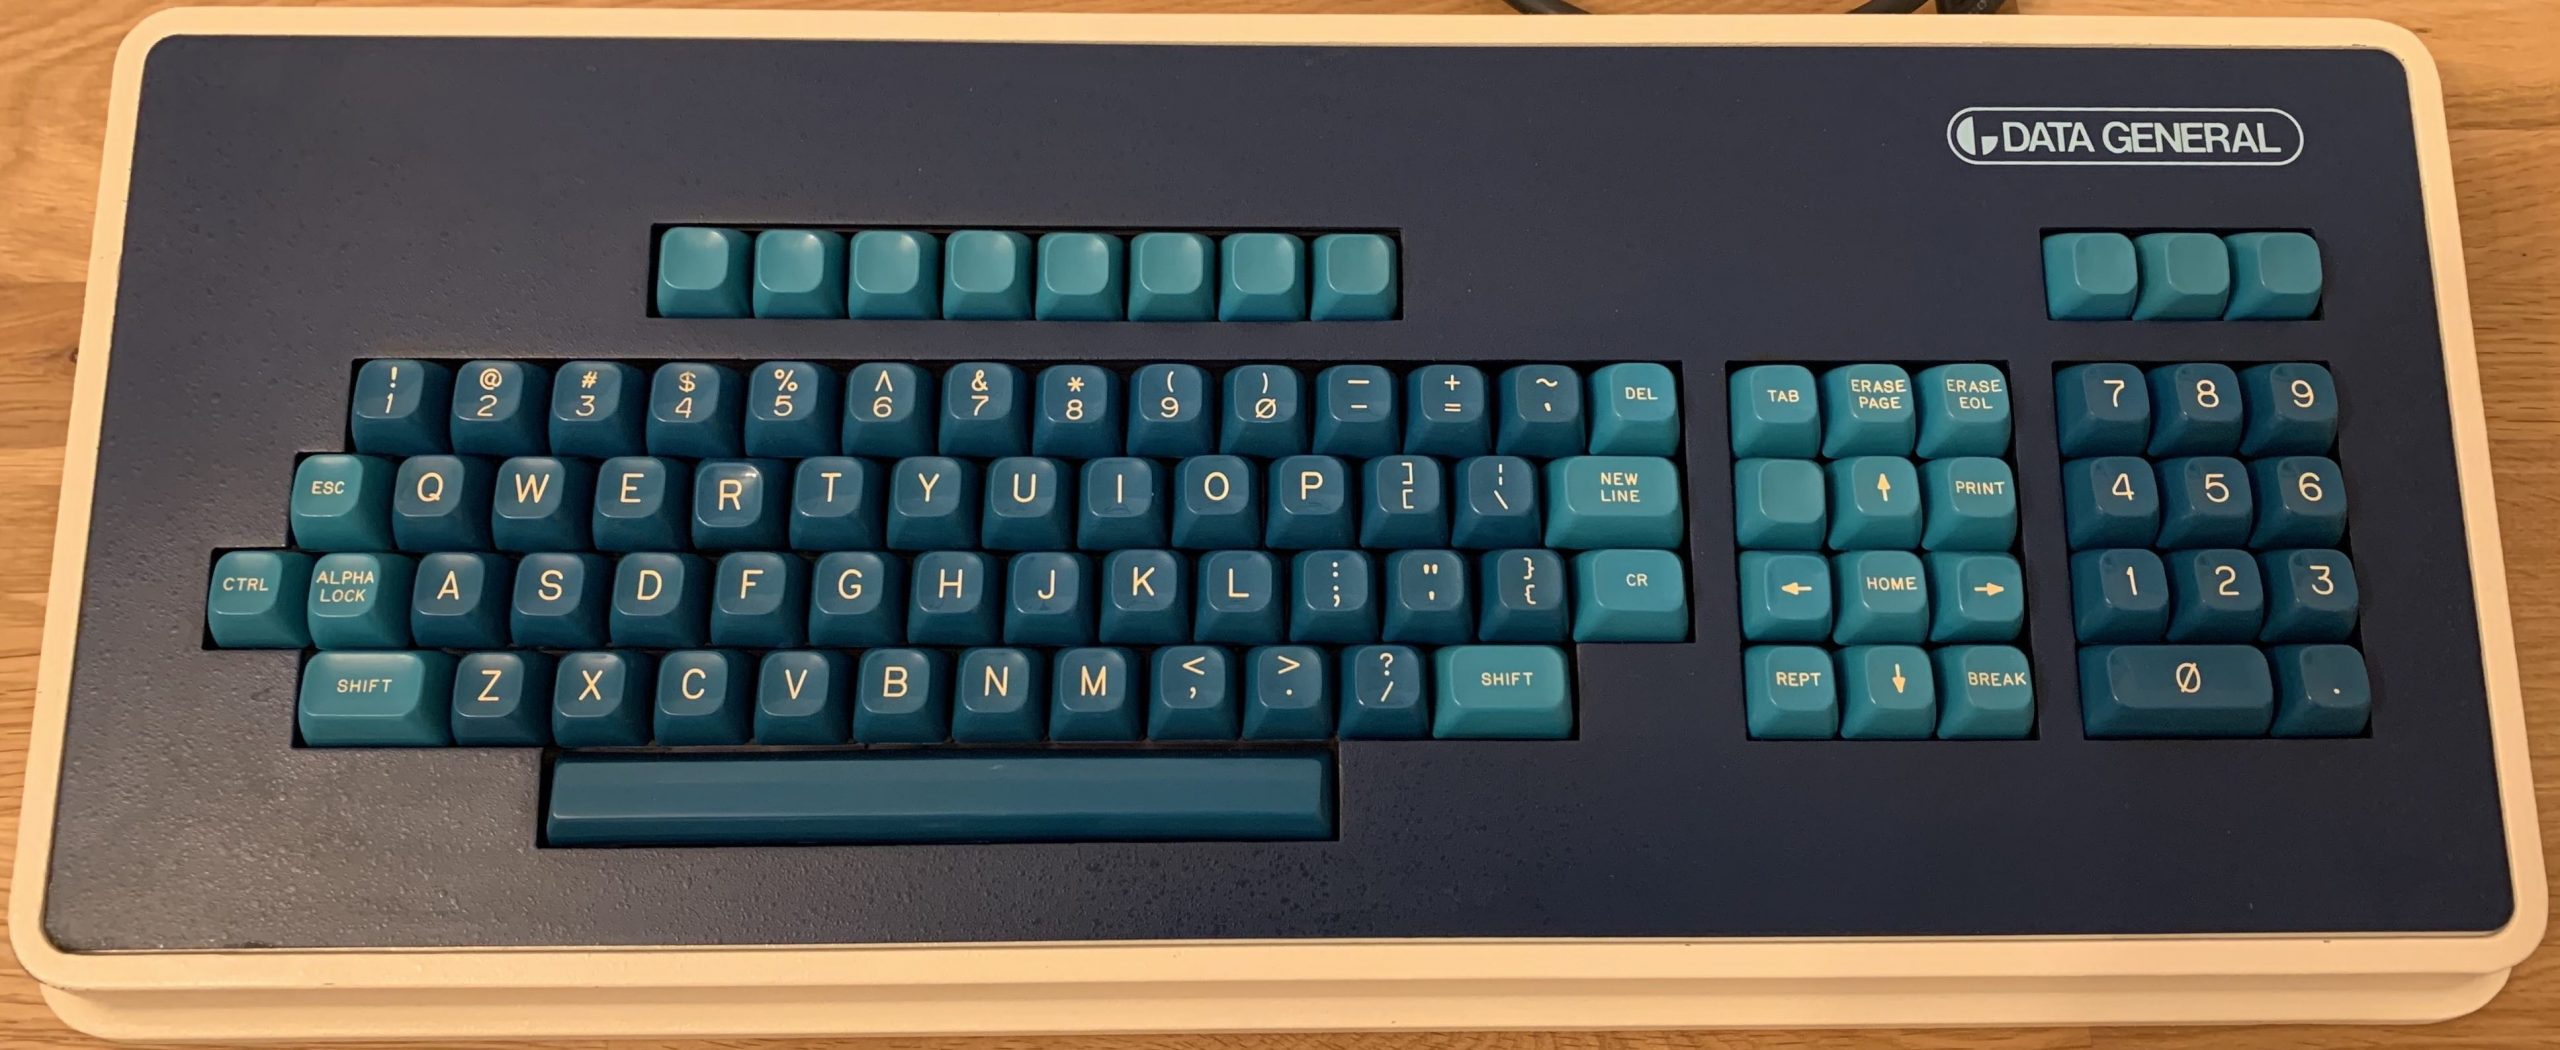
Starting the project, I picked the supposedly easiest piece of hardware out ot the bunch: The Keyboard!
It was in a very sorry state, at least by the looks of it. Unfortunately I don’t have a picture of it in that state but it was really dirty and crusty. I took it home to disassemble it and give it a good clean as well. I took a picture of the keyboard layout, disassembled everything, pulled the keycaps and washed every single one individually with a brush, some soda and windex. Afterwards I let everything dry and removed all the dust and dirt from the pcb, the keyswitches, vacuumed the case and so on. The pcb was, apart from the dirt in a very healthy state. no corosion or broken tracks. Even the lacquer was not crumbling on the traces. I remember C64s that looked like a plowed field in atumn.
Then it was puzzle time and at first I tried to put the keys back from memory but that didn’t take me very far. That was probably because the layout is a bit different from modern keyboards. Also notice the unmarked keys on the top. I wonder what they were used for. Maybe they are user programmable. According to the datasheet, at least the keyboard of the newer D100 Terminal has a ASCII code assigned to every key it seems.
Also one of the turqoise keycaps had a broken alignment shaft. Fortunately some CA-glue made quick work of it and now it works reliable.
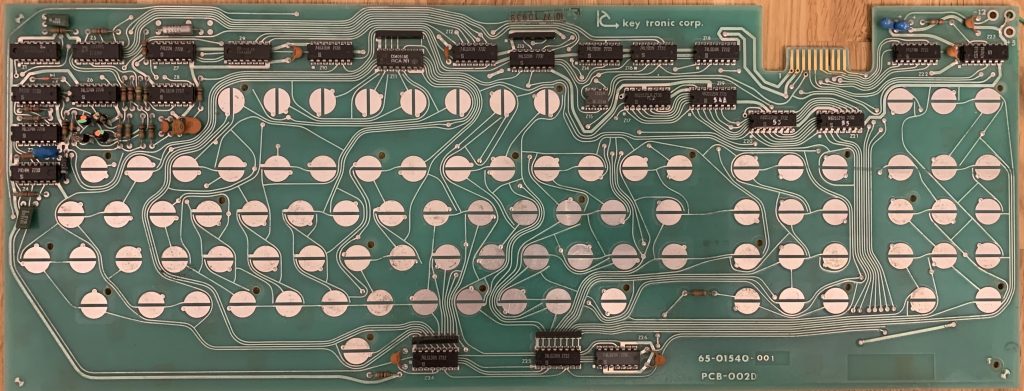
Here are some shots of the stripped keyboard before and after cleaning:
A few things I noticed along the way:
The keyboard connector indicates to me, that it does not belong to the Dasher D100 terminal I got with the computer. According to some documents I found on the web, it should be an older model. This one features a 15 pin AMP connector, whereas the terminal just has a 9-Pin 2.54mm pitch single-in-ine dupont connector on it as depicted in the manual here:
Also it appears, that the keyboard was not manufactured by Data General themselves, but they bought it from key tronic corporation as oem. But they did a very thorough job in designing a very nice keyboard that still feels great to type on even after ~50 years. In the pictures below you can see, that keytronic designed the keyswitches themselves. I’m not sure though if it will work without problems, because the switches have a plastic plunger (the white bit) with a piece of that weird old ?polyurethane? foam attached to the bottom with a conductive sticker on it. Unfortunately the foam is old and decomposing a lot, so there won’t be much life in these keys. Some are even missing, no clue how they got out.
Whats also interesting is, that the keyboards circuitry is made up almost entirely of 74 series cmos logic chips. The majority are made by Signetics, there is also one from AMD, RCA and National Semi each.
So would the keyboard I got work with the terminal I got?
Probably not. I might analyze the pinout of the D100 in the future, but I’m almost certain that the fundamental design is different if there is almost double the amount of pins on the plug.
I found a post on the vogons forum.
https://www.vogons.org/viewtopic.php?p=531984#p531984
Apparently this guy was the designer of the Dasher D200 terminal and had to say that the terminal was all about getting the cost down. According to his post the keyboard just consists of a bunch of shift registers and analog muxes like this one here. Since the D200 terminal and its keyboard are a much later model than this keyboard here, I suspect instead of sourcing it out and live with what they got from their OEM, they rolled their own. They might have put further muxes and shift registers in the newer models to reduce the number of wires needed between the keyboard and the man unit. That would also explain going from that probably very expensive 15 pin monster to that flimsy 9 pin header plug which is way cheaper. In the manual I embedded on this page is also a diagram which roughly explains the way this keyboard is being read. (Page 5-3)
Below is a galery with some moneyshots, enjoy:
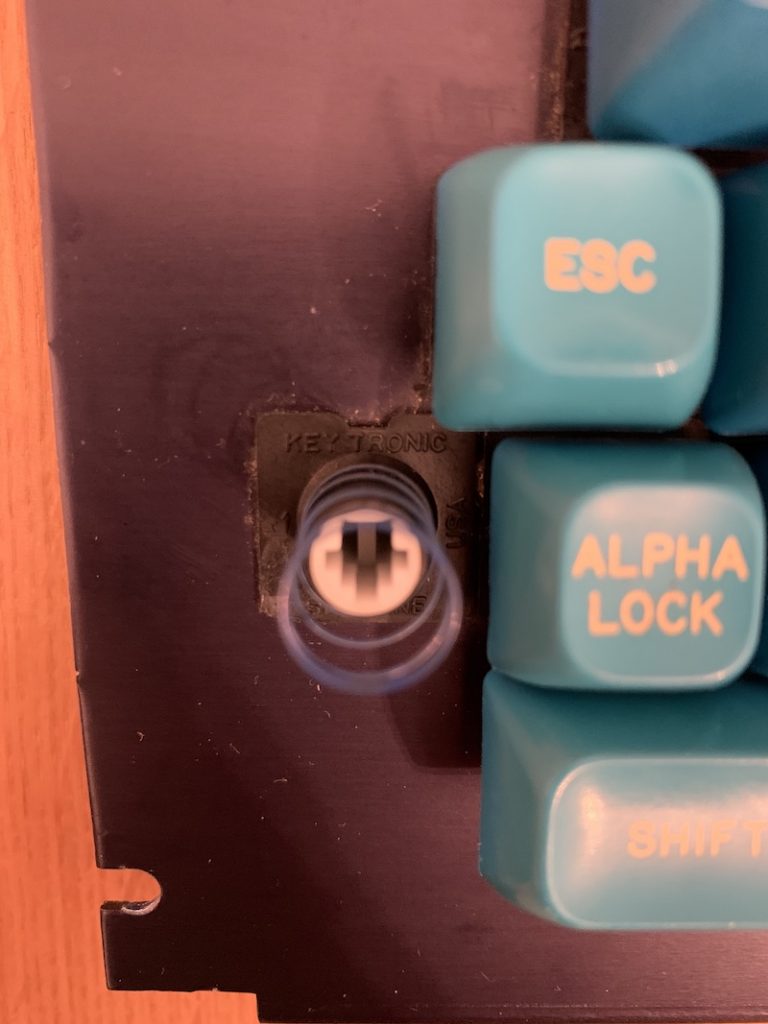
This one says keytronic on it. 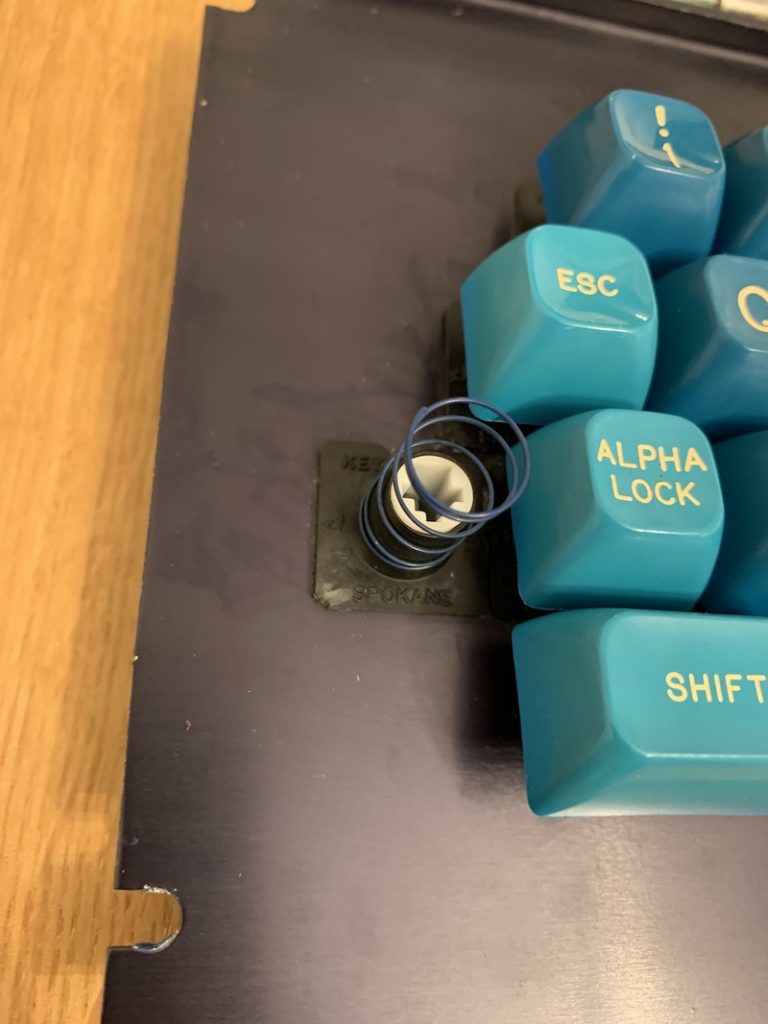
Maybe spokane is that particular model? 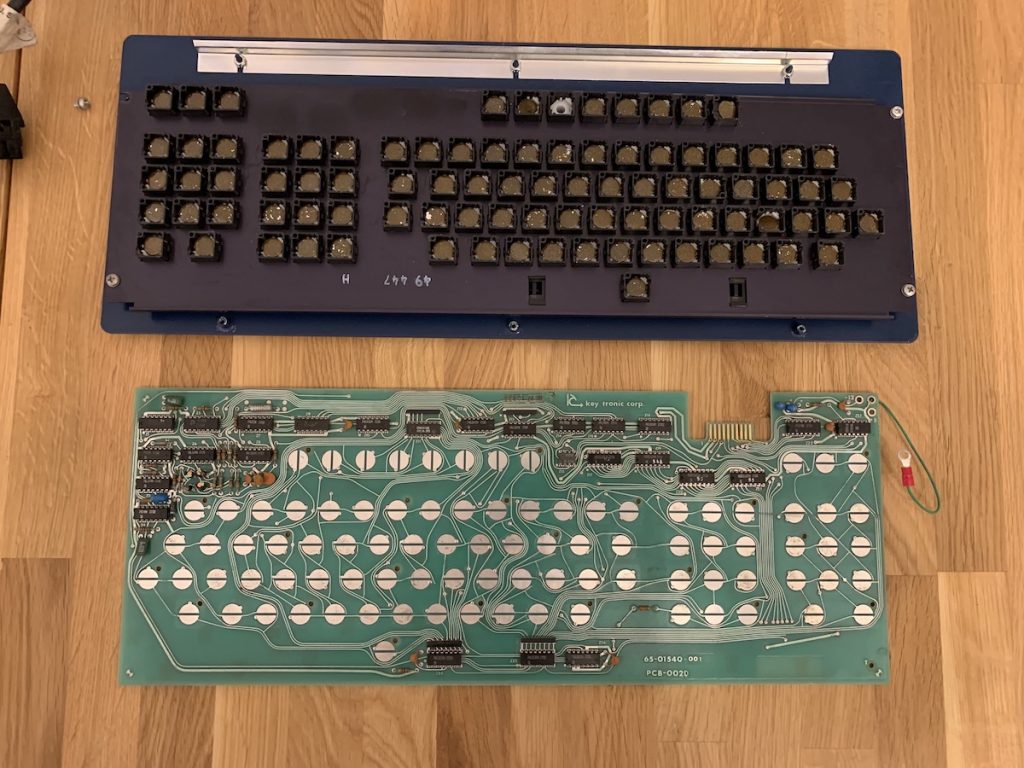
In the top part you can see the foam pads. 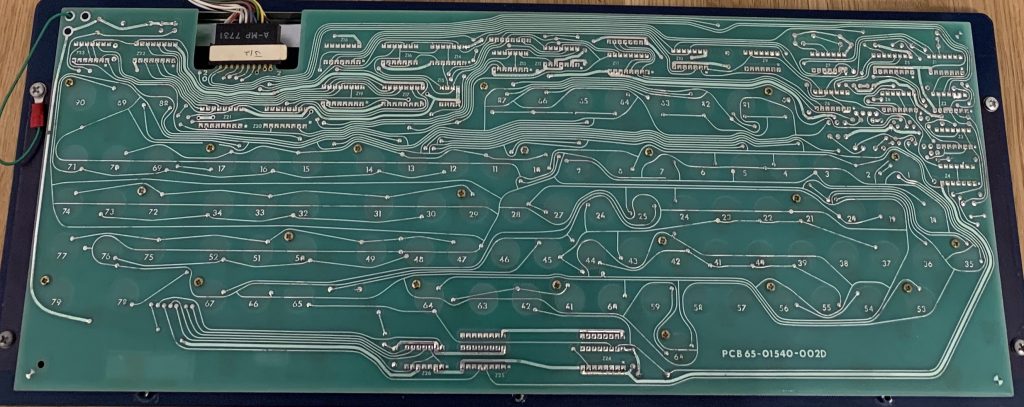
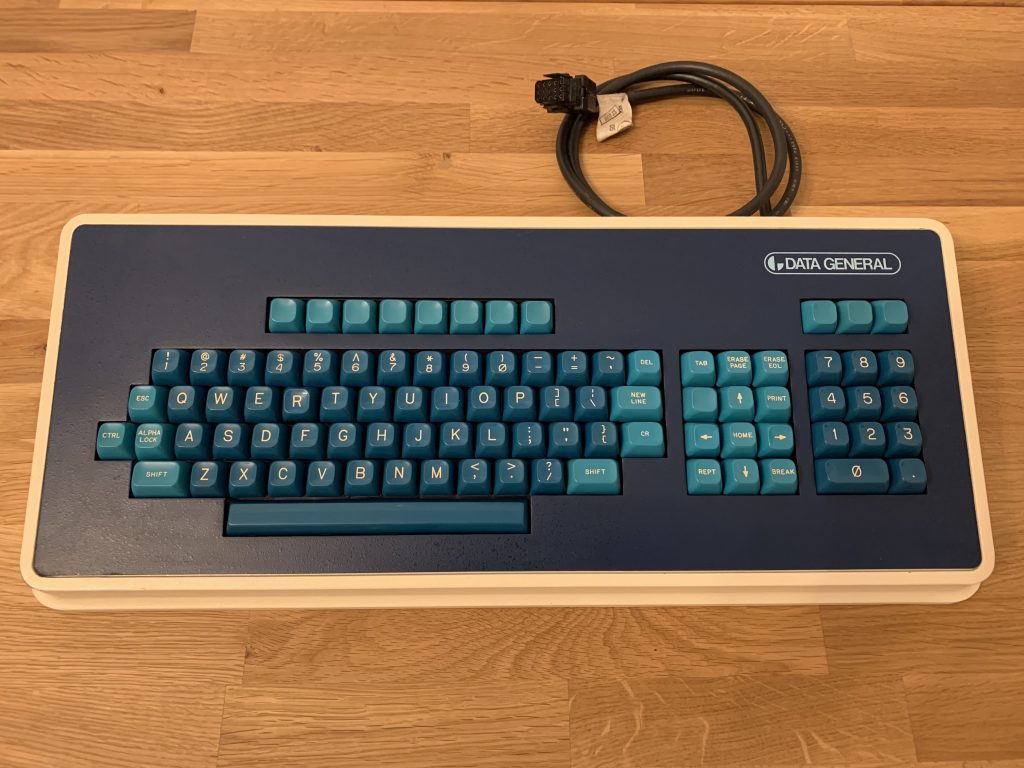
Neat and clean, I somehow like that design.
